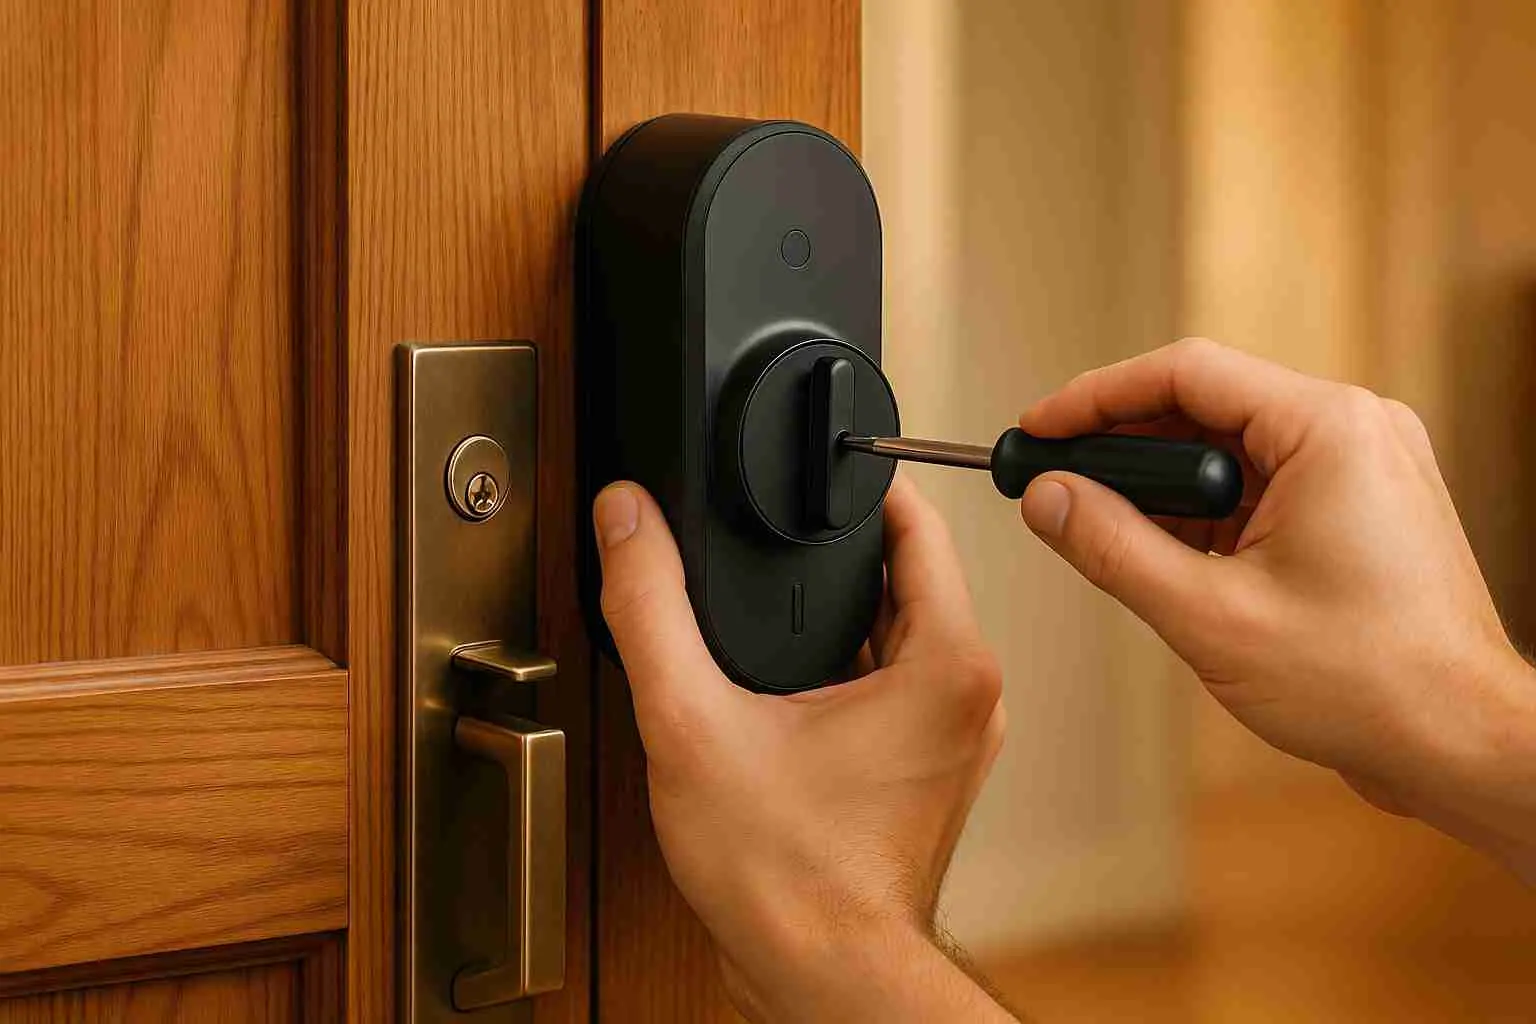
Installing a smart lock can save you from the hassle of lost keys and enhance your home or business security. Here's a quick summary of what you'll need to do:
- Check Compatibility: Ensure your smart lock fits your door's thickness, backset, and material.
- Gather Tools: Common tools include a Phillips screwdriver, tape measure, level, and possibly a power drill.
- Prepare the Door: Remove the existing lock, clean the area, and inspect for damage or misalignment.
- Install the Lock: Follow the manufacturer's instructions to attach the deadbolt, interior, and exterior components.
- Power and Test: Insert batteries, connect to your smartphone app, and test all features like keyless entry and alerts.
- When to Call a Pro: If your door is unusual or you face technical issues, consider hiring a locksmith.
Smart locks offer features like remote control, unique access codes, and real-time monitoring. Whether you're DIYing or hiring help, proper setup ensures smooth operation and improved security.
Ditch Your Keys FOREVER! Smart Lock Installation Made Easy
Tools and Materials Needed
Getting the right tools and materials together is the first step to making your smart lock installation go smoothly. While most setups only call for basic tools you likely already have at home, some doors may require a few extras depending on their design.
Required Tools
To start, you'll need a Phillips screwdriver, a tape measure, a pencil for marking drill points, and a level to keep everything aligned properly. If your door needs adjustments, a power drill and chisel can make the job easier. Before diving into the installation, take a moment to review the components in your smart lock kit to see how these tools will come into play.
Smart Lock Kit Components
Most smart lock kits include an exterior keypad or reader that allows for keyless entry, whether through numeric codes, smartphone apps, or even biometric scans. This connects to an interior mechanism that controls the locking bolt. Along with the main hardware, you'll typically find mounting plates, screws, and batteries to power the electronics. Many kits also come with a deadbolt for added security, as well as templates and manuals to help with alignment and setup. Some advanced models may even include a separate WiFi bridge to connect your lock to your home's network.
Additional Items for U.S. Doors
Most U.S. doors are between 1 3/8 and 2 inches thick, but if yours falls outside this range or has unique features, you might need extra items like extension kits or a rebater. Decorative or grooved doors should also be checked for compatibility. For double-leaf doors, a rebater can help fill gaps and create a flat surface for mounting. If your door's backset is 2 3/4 inches (70 mm) rather than 2 3/8 inches (60 mm), set the bolt to match; the Schlage Encode adjusts to either. Lastly, installing a door closer can help control the door's movement and protect the electronic components of your smart lock.
Door Preparation and Assessment
Getting your door ready is a key step to ensure a smooth and reliable smart lock installation. Taking the time to prepare properly can help you avoid headaches down the road.
Check Door Compatibility
Start by measuring your door thickness. Smart deadbolts list a supported thickness range: the Schlage Encode fits doors 1 3/8 to 1 3/4 inches thick, and the Kwikset Halo Touchscreen Wi-Fi fits 1 3/8 to 2 inches. For reference, exterior doors in the U.S. are usually about 1¾ inches thick, while interior doors tend to measure around 1⅜ inches.
Next, determine the backset, this is the distance from the edge of the door to the center of the existing lock hole. Common backset measurements for U.S. doors are 2⅜ inches or 2¾ inches. Use a tape measure to confirm this, as your smart lock has to match the backset exactly.
You’ll also need to identify the current lock type. If your door has a mortise lock, which is often found in older buildings, you’ll need a smart lock specifically designed for that setup.
Lastly, consider the door material. Most smart locks work well with wood, metal, or fiberglass doors. However, some materials might not provide enough support for the electronic components. Once you’ve confirmed compatibility, you can move on to removing the existing lock.
Remove Existing Lock
The removal process depends on the type of lock currently installed: cylindrical, mortise, or deadbolt. Cylindrical locks are the most common and generally the easiest to replace.
For cylindrical locks with visible screws, simply unscrew them using a Phillips screwdriver. If the screws aren’t visible, check the interior knob for a small slot. Insert a small screwdriver or wire into the slot to release the knob.
For mortise locks, the process is a bit more involved. Start by removing the set screw located on the door’s edge. Then, unscrew the door handles and decorative rose plates, remove the faceplate on the door’s edge, and pull out the entire mortise mechanism.
Don’t forget to remove the strike plate from the door frame. Unscrew it carefully to avoid damaging the frame. If any components are stuck, gently tap the screwdriver with a hammer to loosen them.
Clean and Prepare the Work Area
After the old lock is removed, clean the door surface thoroughly with a soft cloth or brush to remove dirt, debris, or leftover adhesive. Pay extra attention to the areas around the lock holes, as grime tends to build up there.
Inspect the door frame for any signs of damage, like cracks or warping, which could interfere with the smart lock’s performance. If you notice significant damage, you might need to call in a professional.
Use a level to check that the door is hanging straight. A misaligned door can prevent the smart lock from functioning properly. Also, ensure there’s enough clearance between the door and frame for smooth operation.
Finally, tidy up your workspace. Clear away any debris or tools so that small parts like screws or batteries don’t get misplaced during installation. With the door cleaned, inspected, and ready, you can move on to marking the installation points and mounting the smart lock.
Step-by-Step Installation Process
With your door prepped and cleaned, it’s time to install the smart lock. This process calls for a steady hand and attention to detail.
Mark and Prepare Installation Points
Start by marking the drilling and mounting points as outlined in the manual. If additional screw holes are needed for mounting plates or sensor brackets, follow the manual’s instructions carefully.
Install the Deadbolt or Latch
First, confirm the correct orientation of your deadbolt before sliding it into the hole on the edge of the door. Once it’s positioned properly, secure the faceplate using the screws provided. Retract the deadbolt and install the thumb turn assembly on the interior side, making sure everything lines up correctly. Close the door and test the thumb turn to ensure the deadbolt fully extends into the door frame.
Use a level to check that the deadbolt and strike plate are aligned both vertically and horizontally. Proper alignment is crucial for smooth operation. Tighten all screws securely, and if needed, adjust the strike plate for a better fit. You can also apply lubricant to the deadbolt if necessary.
Attach Exterior and Interior Components
Start by attaching the mounting plate to the interior side of the door. Use a level and measuring tape to confirm it’s positioned correctly and horizontally aligned. Feed the power, door status, and Wi-Fi cables through the slot in the mounting plate, and connect them to their corresponding sockets on the interior assembly as per the manual.
Next, insert the tailpiece into the T-shaped slot on the interior assembly, ensuring the deadbolt is retracted and the thumb turn is set vertically. Tuck the cables into the designated channel to keep them organized. Then, place the exterior assembly vertically against the door and secure it according to the manufacturer’s instructions, holding it firmly in place during mounting. Rotate the thumb turn to confirm the latch moves smoothly, if it binds, double-check the cable connections and tailpiece alignment.
Once the hardware is in place, you’re ready to power the lock.
Power the Lock and Complete Installation
Insert the batteries (usually four AA) into the battery compartment, ensuring they’re installed with the correct polarity. Snap the battery cover into place to protect the electronics. Before wrapping up, test the lock by locking and unlocking the door through all available methods. Verify that the deadbolt moves smoothly and all components feel secure.
DIY vs. Professional Installation
If you’re working with a standard door, a DIY installation should suffice. However, for doors with unusual dimensions or when precise alignment of electronic components is critical, professional installation is a smart choice. For example, Roadrunner Lock and Key in Albuquerque offers expert smart lock installation services to ensure your lock is secure and fully functional.
Smart Lock Setup and Testing
Once the hardware for your smart lock is installed, the next step is to configure its digital settings. This involves powering up the device, integrating it with your smartphone, and connecting it to your home network.
Initial Setup and Programming
Start by downloading the app associated with your smart lock. Register using your email or phone number, and locate the default (or master) code for your lock, this is typically found in the installation manual or on a sticker on the device. For security reasons, change this code immediately.
Enable Bluetooth on your phone and activate the lock's pairing mode. Once the lock appears in the app, select it to begin the setup process. Follow the app's instructions to create an administrator passcode and replace the default code. Many smart locks also allow you to manage programming codes remotely, eliminating the need for physical access to the lock. You can even set up unique access codes for different users, which makes it easy to control who can enter your home. Plus, you can update or remove these codes anytime for added security.
With the programming complete, the next step is to connect the lock to your home network.
Connecting to a Smartphone App
After programming, integrate your smart lock with your home Wi-Fi network for remote access and monitoring. For example, Kwikset's 99390‑004 Wi‑Fi Smart Door Lock provides a typical setup process: download the lock's app, create an account, ensure your phone is connected to your home Wi-Fi, select your lock model, and activate pairing mode by following the app's prompts. After you name the lock and add an access code, the app will guide you through adding the lock to your network by selecting it and entering your Wi-Fi password.
Some smart locks can also work with platforms like Samsung SmartThings or Ring Video Doorbell. For instance, a Schlage Encode Smart Wi‑Fi Deadbolt can be synced with a Ring Video Doorbell by first connecting it via the Schlage Home app, then adding it to the Ring app for seamless integration.
Testing and Troubleshooting
Once your smart lock is connected and configured, it’s time to test its functionality. Try all access methods, smartphone app, keypad, and physical key, to ensure everything works as expected. Check that the deadbolt locks and unlocks smoothly without any resistance.
If you run into connectivity issues, they may stem from weak Wi-Fi signals or interference. Try moving the lock closer to your router, restarting both devices, or updating the lock's firmware. Keep in mind that a weak signal can cause the lock to continually search for a connection, which may drain the battery faster. Using high-quality batteries recommended by the manufacturer can help avoid this issue.
Here are some common problems and their solutions:
| Issue | Solution |
|---|---|
| Key Doesn't Turn | Apply a dry graphite lubricant to the keyhole. |
| Debris in Keyhole | Use compressed air or a small brush to clean out dirt. |
| Misaligned Components | Inspect the lock mechanism for misalignments and adjust as needed. |
| Poor Internet Connection | Ensure your Wi-Fi signal is strong and stable before updating. |
| Insufficient Battery Power | Replace or recharge the lock's batteries. |
If the app isn’t responding, check your phone’s connection, restart the app, and confirm both the app and the lock’s firmware are up to date. For unresponsive keypads or fingerprint sensors, low batteries, dirt buildup, or minor glitches are often the culprits. Cleaning the sensor surface and resetting the lock usually resolves these issues.
Finally, personalize your security settings and notification preferences. Test real-time notifications by simulating door events, and review access logs to make sure all entries and exits are accurately recorded. This ensures your smart lock is ready to provide reliable home security.
When to Contact a Professional Locksmith
Installing a smart lock might seem straightforward, but there are times when calling in a professional locksmith is the smarter choice. A precise installation is essential for your lock to work properly, and some situations are just too complex or risky to tackle on your own. Knowing when to reach out for expert help can save you from costly mistakes and ensure your smart lock operates smoothly.
Situations That Call for a Locksmith
- Unusual door setups: If your door has unique dimensions, multiple deadbolts, or heavy-duty commercial hardware, these can complicate installation. A professional locksmith has the tools and know-how to handle these challenges with ease.
- Persistent technical issues: Is your smart lock glitching, losing its Wi-Fi connection, or showing signs of internal failure? These problems often require a professional diagnosis to fix. Proper installation by an expert can also prevent these headaches from happening in the first place.
- Electrical complications: Powered strike plates or other electrical components can be tricky to manage safely. Professionals bring the right combination of technical and carpentry skills to address these issues without risk.
- Doorframe problems: Misaligned strike plates or damaged doorframes can make installation impossible or unsafe. Forcing a smart lock onto a poorly prepared door can weaken your security instead of strengthening it.
- Complex security systems: If you’re integrating your smart lock into an advanced security or home automation system, a professional locksmith ensures everything works together seamlessly.
When you face any of these situations, it’s time to call in an expert.
Roadrunner Lock and Key Services
This is where Roadrunner Lock and Key steps in. Serving Albuquerque, NM, and nearby areas like Los Lunas, Santa Fe, Rio Rancho, and Corrales, their team installs smart locks.
Their services go beyond installation, with lock repair and 24/7 help in emergency lockout situations.
Thinking about upgrading your security? Roadrunner Lock and Key installs smart locks with the price quoted up front. Whether you’re installing a new system or troubleshooting an old one, their team is ready to help.
For quick assistance with smart lock issues or emergency lockouts, reach out to Roadrunner Lock and Key at (505) 347‑2895 or email them at rrlockout1@gmail.com.
Conclusion
Installing a smart lock is a practical way to boost your home’s security. With the right preparation and careful attention to detail, the process is straightforward, a manageable weekend project for many homeowners.
Key Takeaways
Here’s a quick recap to help ensure a smooth and secure installation:
Preparation is crucial. Double-check that your door is compatible with the smart lock you’ve chosen, and gather all necessary tools before starting. Read the instruction manual thoroughly, don’t skip the door assessment. Issues like a misaligned strike plate or a damaged door frame can complicate the process.
Stick to the instructions. Each smart lock brand has unique installation and setup steps, so following the manual closely is essential. Skipping steps or improvising can lead to security vulnerabilities or connectivity issues. Take time to properly configure the smartphone app and test all features to ensure everything works as intended.
Know when to get help. While many installations are DIY-friendly, certain challenges, like unusual door setups, technical glitches, or integrating the lock with an existing security system, might require professional assistance.
When dealing with complex setups, professional installation can be a smart investment. While DIY saves on upfront costs, expert help provides long-term reliability and peace of mind.
If you encounter any uncertainties during the installation process, don’t hesitate to reach out for professional guidance.
Roadrunner Lock and Key Support
Whether you’re stuck mid-installation or prefer to leave the job to the pros, Roadrunner Lock and Key offers expert services tailored to your needs. Their technicians handle smart lock installations and lock upgrades.
In addition to installation, Roadrunner Lock and Key handles lock repair and is available 24/7 for lockouts.
For expert assistance, contact Roadrunner Lock and Key at (505) 347‑2895 or email rrlockout1@gmail.com. Their team is ready to help you secure your home with confidence.
FAQs
No question matches that. Call or text (505) 347-2895 and ask it.

Roadrunner Lock and KeyAnswers from the shop
Open 24/7
Pick a question, or search above. You get the straight answer, the way we would give it on the phone.
What can I do if my smart lock doesn’t fit my door setup?
If your smart lock doesn’t work with your door, the first step is to check the type of lock and hardware you currently have installed. Some smart locks might need adjustments, like swapping out the backplate, handle, or strike plate, to fit and function as they should. Proper alignment is crucial; the lock must line up perfectly with the strike plate to avoid any performance issues.
If these changes seem tricky, it’s worth reaching out to a professional locksmith. For those in Albuquerque, NM, Roadrunner Lock and Key provides expert services, including lock upgrades and installations, to make sure your smart lock operates smoothly.
Roadrunner Lock and Key
How do I fix connection problems between my smart lock and its app?
If your smart lock isn’t connecting to its app, here’s what you can do to troubleshoot. First, make sure your phone’s Bluetooth or Wi-Fi is turned on and that you’re within range of the lock. Physical barriers or interference could also be weakening the signal, so check for anything that might be in the way.
Next, ensure both the lock and the app are running the latest firmware updates, outdated software is a common cause of connection problems. If the issue continues, try resetting the Bluetooth pairing or reconnecting the lock to your network. Don’t forget to check the lock’s batteries, as low power can often disrupt connectivity. A quick battery replacement might do the trick.
Still having trouble? Refer to the lock’s user manual for specific troubleshooting steps tailored to your device.
Roadrunner Lock and Key
When should I hire a professional locksmith to install a smart lock instead of doing it myself?
If your door features a distinctive design, belongs to an older home, or you're setting up a high-tech smart lock, bringing in a professional locksmith is a smart move. They’ll make sure the lock is installed properly and securely, helping you sidestep any potential problems later on.
Not comfortable with the tools or steps involved? Or maybe you're short on time? A locksmith can take the stress off your plate and ensure your lock is working exactly as it should, giving you confidence in your home’s security.
Roadrunner Lock and Key
3 questions